How to Use the Giffin Grip Without Making a Mess
While I absolutely love my Giffin Grip, I only have one complaint: the mess it makes.
If you’ve ever used a Giffin Grip, then you know how difficult it is to keep the trimmings off the floor and in the splash pan. This might not be a big issue for everyone, some potters just pick up the trimmings when they’re done. I personally want my process to be as efficient and clean as possible (I currently have a full time day job and am limited on time, so anything that saves me time is a winner).
Thankfully, after a few failed methods, I found a solution to this that works well for me.
What You Will Need:
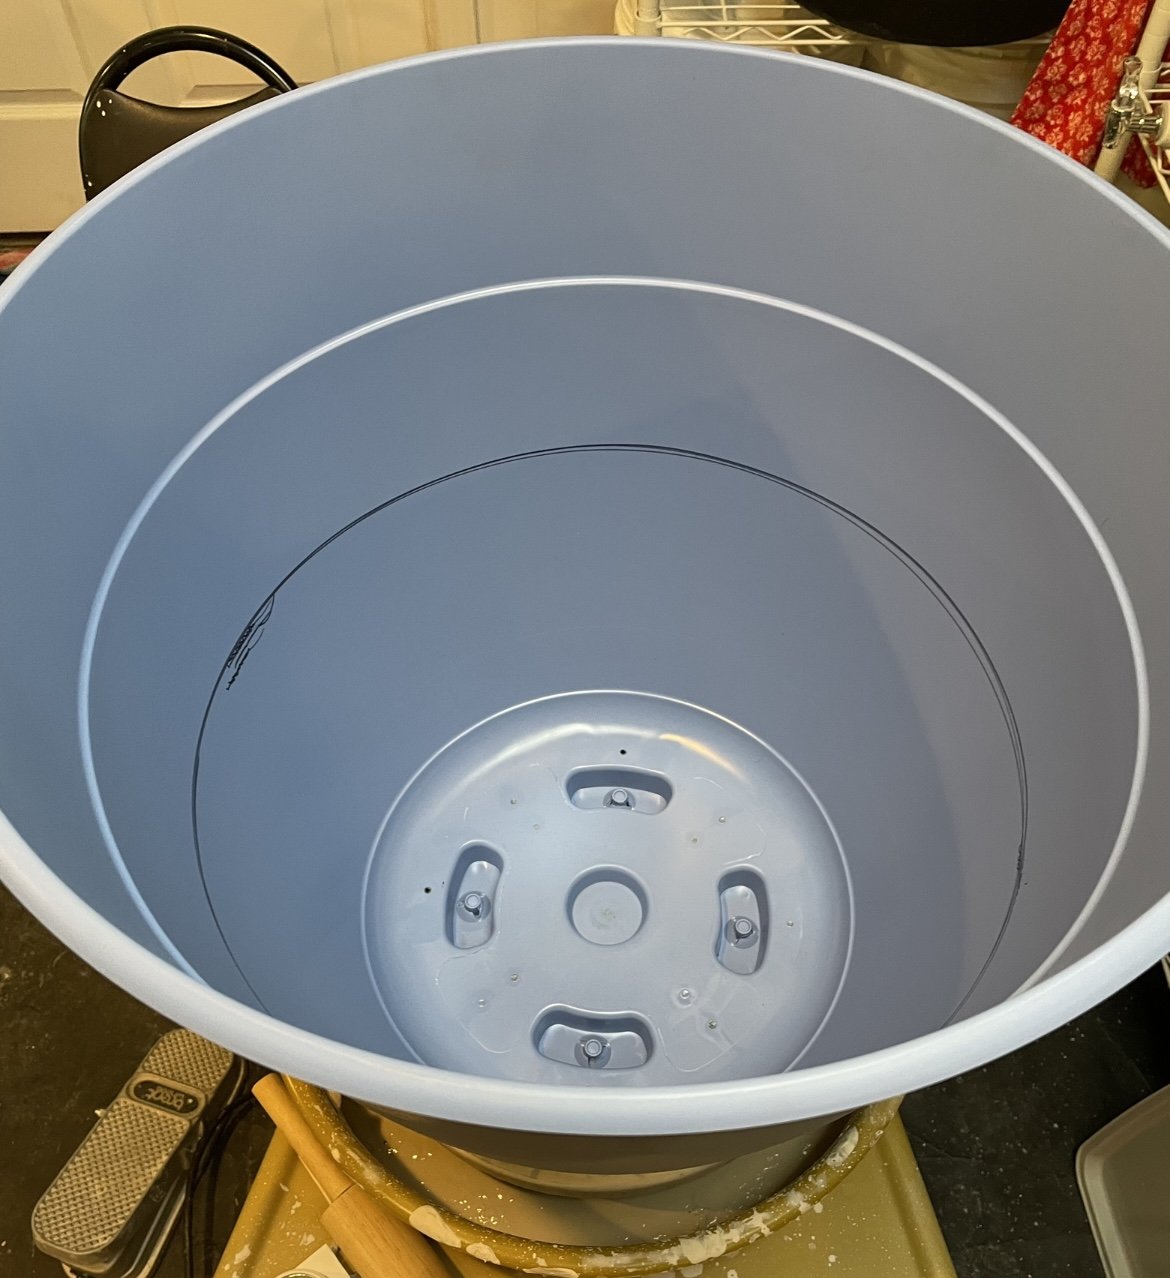
A thin, round, plastic planter (approximately 20-22” in diameter). I found mine at Lowe’s for about $20
Something to cut the pot with (I used a jig saw (if you don’t have one, you could either borrow a friend’s or buy a cheap one at Harbor Freight or try your luck with heavy duty shears/wire cutters))
Something that is the same length as the inner diameter of your splash pan (I used 2 12” wooden rulers)
A marker
A level (if you don’t have a level, most smart phones can be used as one with an app)
Optional: Rubber edging.
How To Make It:
1) First, I found where the inside of the pot equaled the inner diameter of my splash pan (which was about 17” for my Brent) using the rulers and a level (the level will help make sure you don’t go too far or not far enough by accidentally holding your measuring tool ascue). Mark the pot.
2) Then I measured the distance from the top of the pot to the marking I had just made (I think this was about 9” for me) so that I knew where to mark the outside of the pot. I then measured that distance down from the top of the pot on the outside and made a mark. I put the pot on my wheel and used it to make a straight line all the way around. This line is where the pot should be touching the top most part of the splash pan when it sits in the splash pan. Don’t cut on this line.
3) Next, I measured the inside depth of my splash pan where it was most shallow (for me, this was where the two parts of the splash pan join and that measured about 3.5”). I used this measurement to mark that same distance down from the first line I drew on the outside of the pot. This is where I cut the pot and where it will sit on the bottom of the splash pan (if you’re using a power tool to cut the pot, I would recommend having someone help hold it).

4) Next, I marked where I wanted a cut out for my hands to go. I made this cut about 9” wide and left a 1.5” gap above the first line (though I wish I had left 2”). You could always leave more and keep cutting away at it until you are happy with it.

5) After that, I found how tall I wanted it to stick above the splash pan (about 4.5” for me, but again, you could always leave more and cut away at it later), marked it, and cut it.


6) Lastly, I had some rubber edging lying around and lined the cut out with it so that my arms had somewhere comfortable to rest. Another option for this might be to soften the edges of the cut by melting the plastic with a lighter or whittle down the edges with a knife or dremel tool. If you do end up using some kind of edging like I did, I would suggest making all the corners round. This step is totally optional though, I don’t think it’s necessary at all. It’s just a nice feature to have.


And that’s it! This splash pan insert sits about 8” tall and fits perfectly on my shelves. So far this has been the perfect solution for me and I hope you found this helpful too!